In Part 1 I learn about the history of stereoscopic photography. Here in Part 2 I am attempting to display stereoscope cards from the 1890s on my futuristic Google Cardboard.
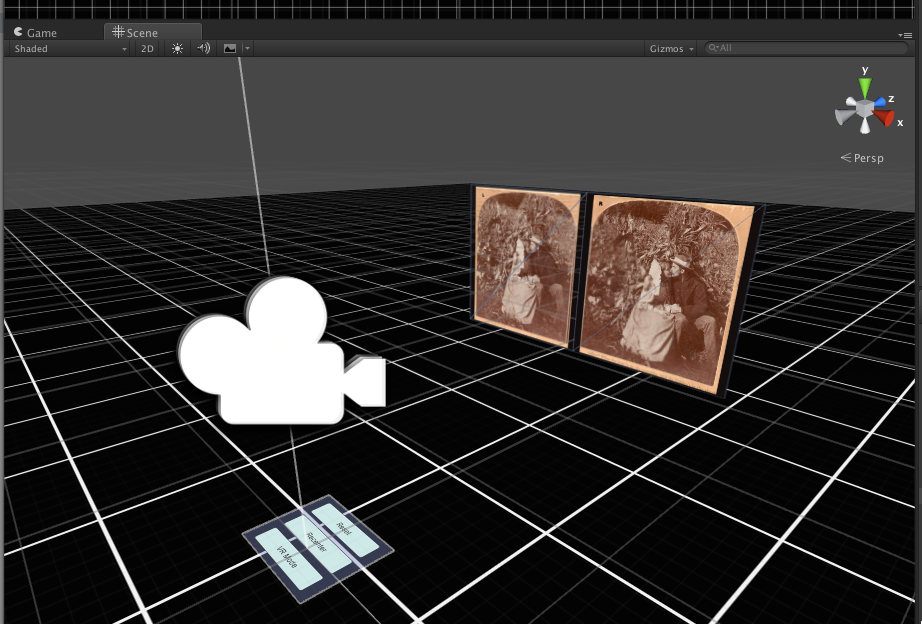
I took some time to calibrate as best I could the images in photoshop and place them in a 3d environment. At first I tried to make something that looks like this:
But this is, of course, a ‘one-camera’ approach. What I really want is to display the image for each camera (aka eye).
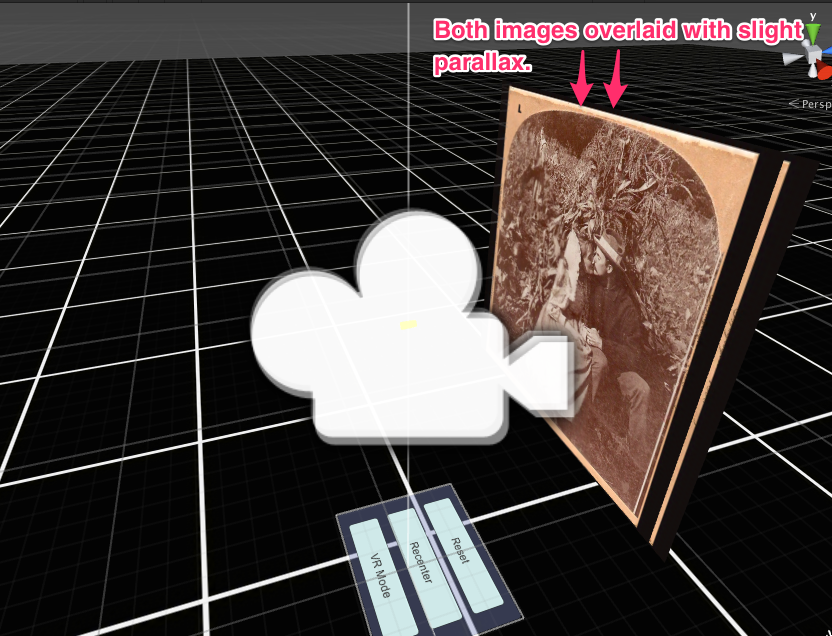
This variation was an attempt to have the image displayed ‘directly ahead’ for each eye (aka offset by 0.3 world units for each camera). I also put each image on a layer, and made each camera display the image. Unfortunately I had a couple snafus in my code. The ‘toggle mask’ meant I had accidentally swapped the image for each eye, and the offset was funky.
Finally I figured that I just need to put each image right on top of each other, and display the left image for the left, and right image for the right. Too simple, right?
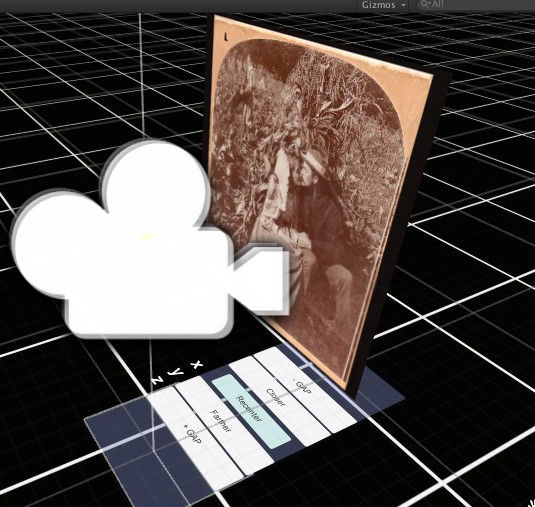
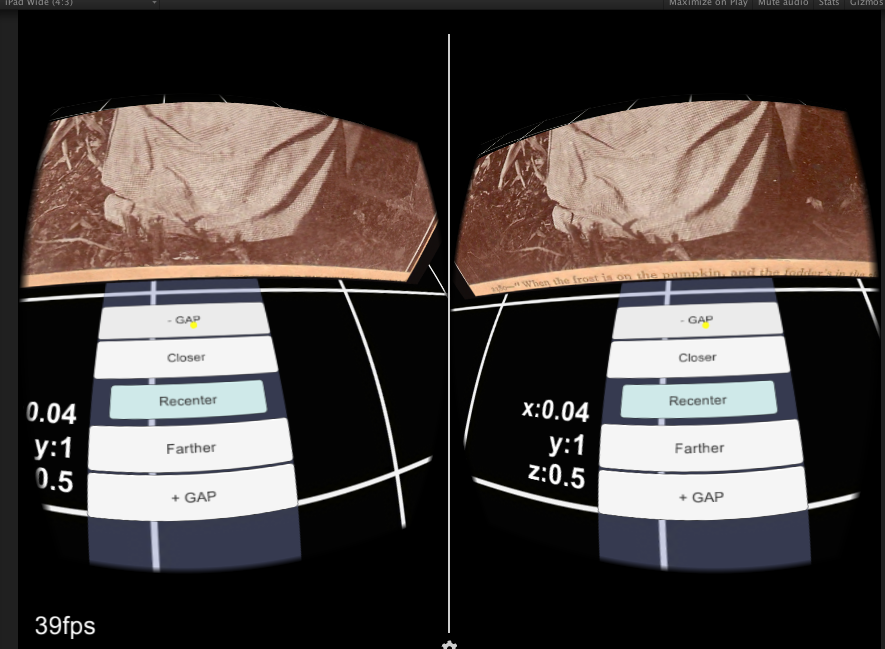
You may also notice that I’ve added some UI:
These calibration controls allowed me to change the X and Z values of the pictures to see if moving them would better calibrate the image. I can move them closer and farther away, and increase/decrease the gap between them. The ‘Y’ value is fixed at 1.0 world units, which is effectively ‘head height’.
I was able to determine that, overall, the calibration I did in Photoshop was ‘good enough’. The X gap could be slightly better, but that may be subjective.
So how is the experience?
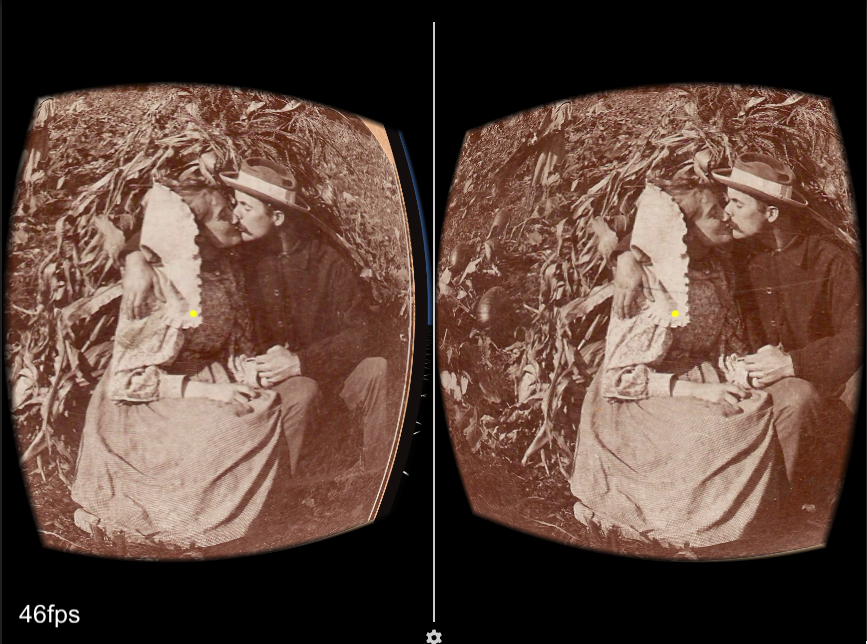
Upon the 3rd build with the calibration controls I saw this:
Which, if you have a Google Cardboard on, looks really, really cool!! My jaw kind of dropped when I saw it work. Not only did the 3d work almost perfectly upon boot, it is like traveling through time and seeing another era!
I initially wrote I was skeptical that the parallax would have much of an effect, and boy I was wrong. All kinds of details pop out, and you get a feel for the people and things of the world. The pumpkins are round. The corn didn’t have much pattern before suddenly coalesced into rows. The girl and the man in the background are quite alive and visible now!
Now having said that, the standard issues of current-gen VR do exist, specifically view persistence and the ‘screen door’ effect. I was initially thinking that displaying the image in a 3d world and being able to ‘look around’ the image would allow for a better experience. But at times it seemed like head tracking (aka gyroscope) was adding blur, and that perhaps looking at the image ‘off axis’ instead of directly at it like in a traditional stereoscope was causing distortion.
So I decided to turn off head tracking, essentially turning the Google Cardboard into a more traditional stereoscope. It turned out (surprise) that while head tracking was adding a bit of blur, it always stabilised. And looking at the image off axis? This wasn’t a problem, but actually improved the ability to see more details! In order to look at the same details in a traditional stereoscope you would have to move the image farther away, allowing you to see the edges of the image without distortion. This also mean the image was smaller and harder to see. With head tracking on, you can see the edges of the image close up and with less distortion.
It is quite fun to think that noone has viewed these antique images in quite the same way and detail that I’m able to see now. It is also somewhat irritating that my only way to convey this to you is through words. It is quite possible that only I am interested in such quirky things. But if I am not alone, perhaps there will be a Part 3 to this series someday! I hope that I can scan and calibrate all 26 images I have bought and include them in an app for Google Cardboard. It should not be a complicated endeavor, but it is not for today.
